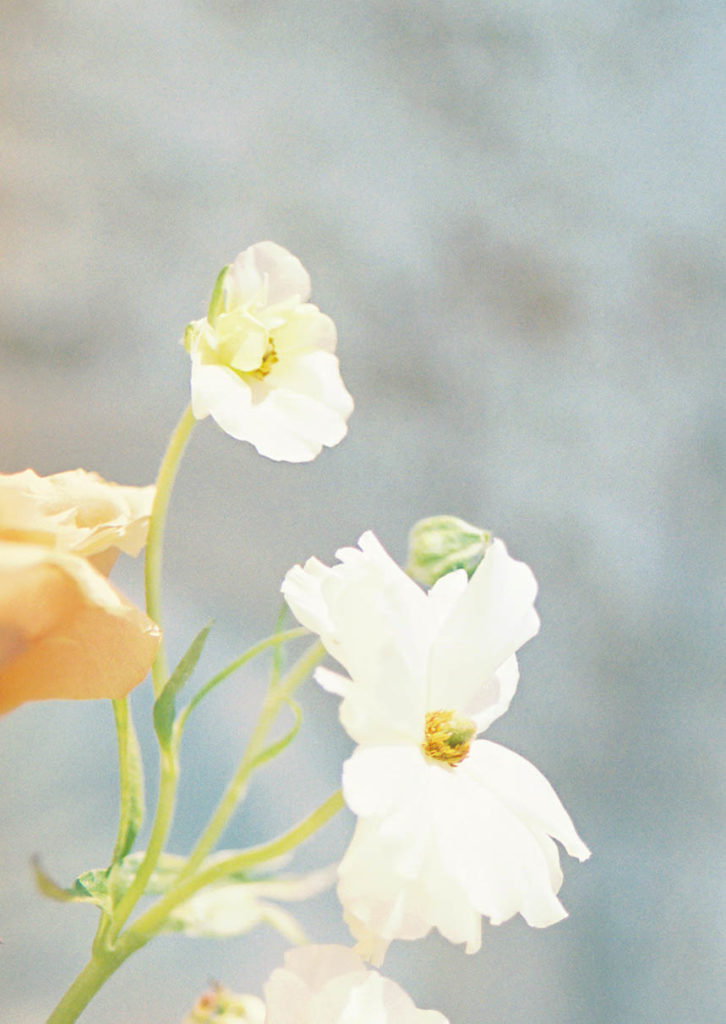
Have you considered shooting film? I, at some point in time, saw the beauty of film and it seemed like the task was out of my reach! I wanted to officially be a film photographer, but I didn’t really understand how to shoot film and why I should implement more film into my work. If you feel the same, I’m here to help you navigate this film world!
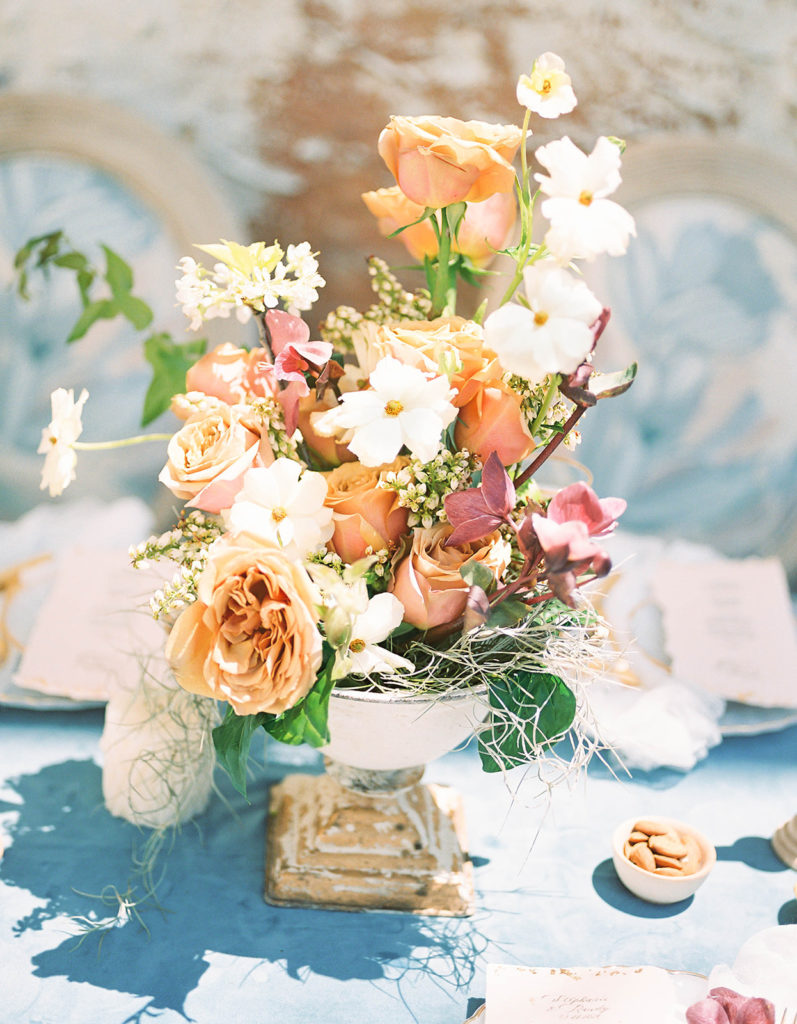
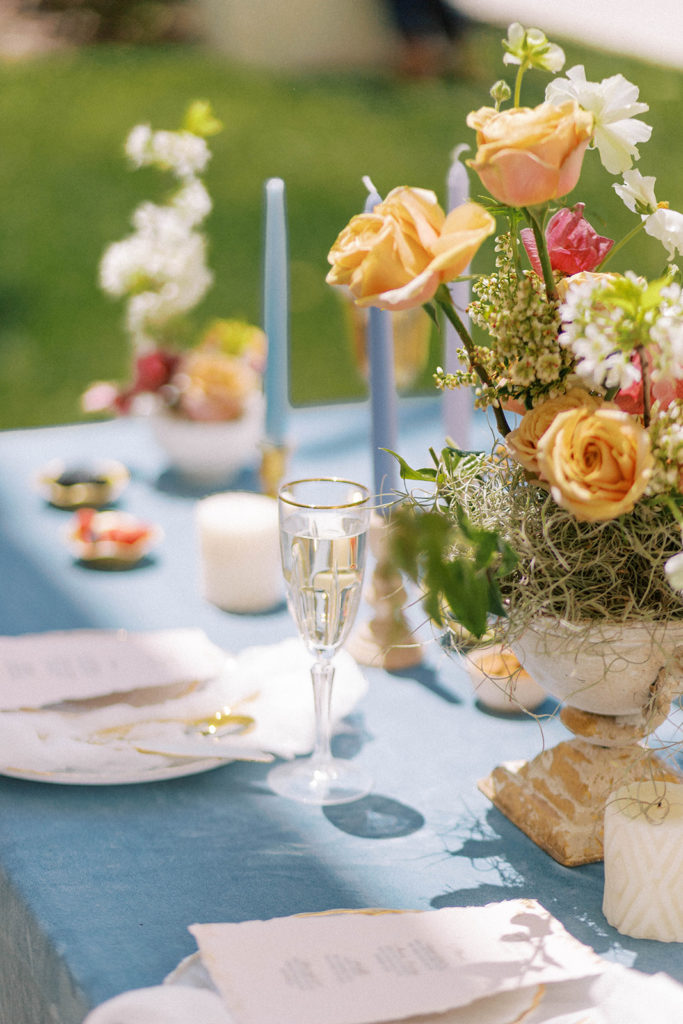
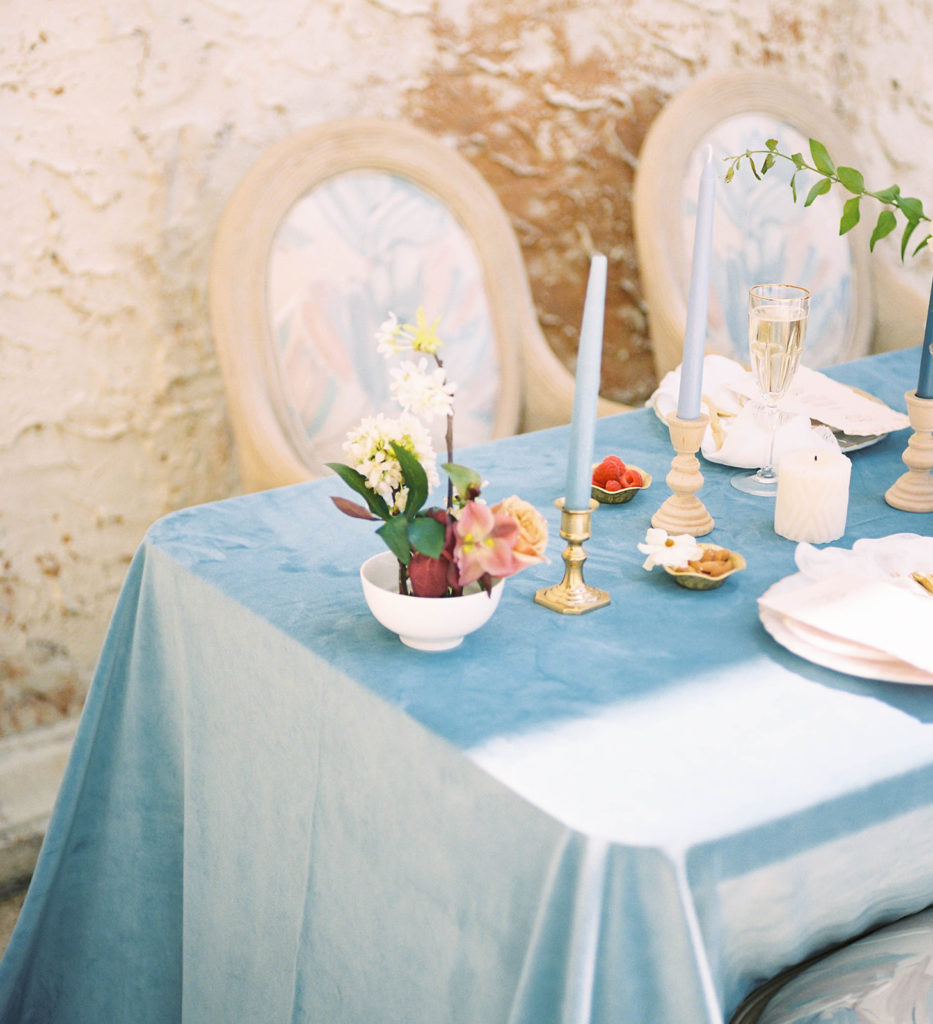
Why you should try shooting film?
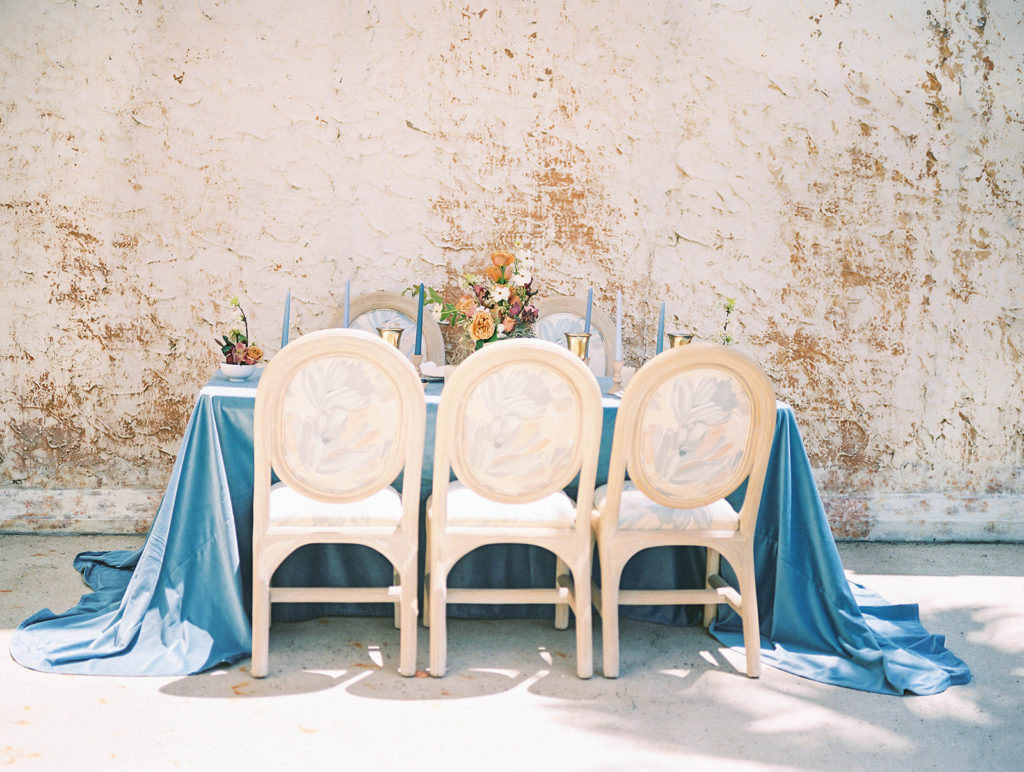
But first, here is why I believe that you should shoot film– I believe in implementing the practice of shooting more film because it will truly help you understand tones and colors and it will help you become a better photographer. If you struggle with the color-correcting process, shooting more film will help you identify how to properly color correct. With this in mind, shooting film has a way of simplifying your editing process. It does most of the work for you as far as editing goes. I also believe that it allows you to slow down and be more intentional with each shot. After all, you only have a limited number of shots on your film roll. Also, when you shoot film, you cannot see the images right away, so you have to get it right in camera and you are forced to slow down. That’s where being intentional comes in!
The tools you need:
Film and camera
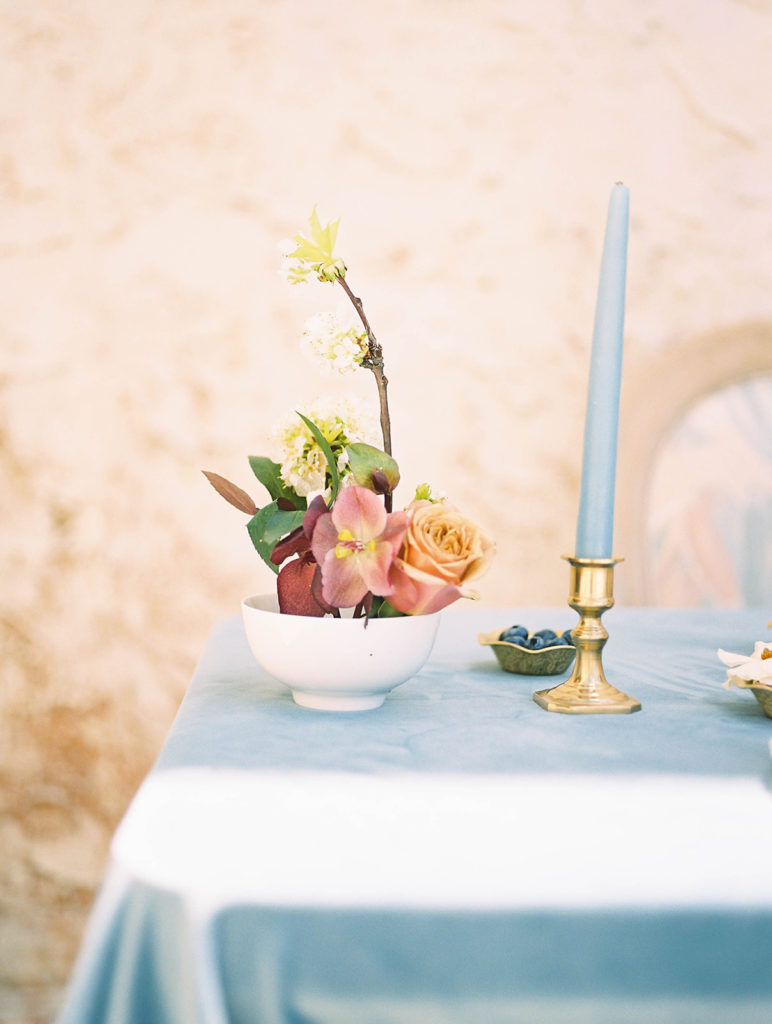
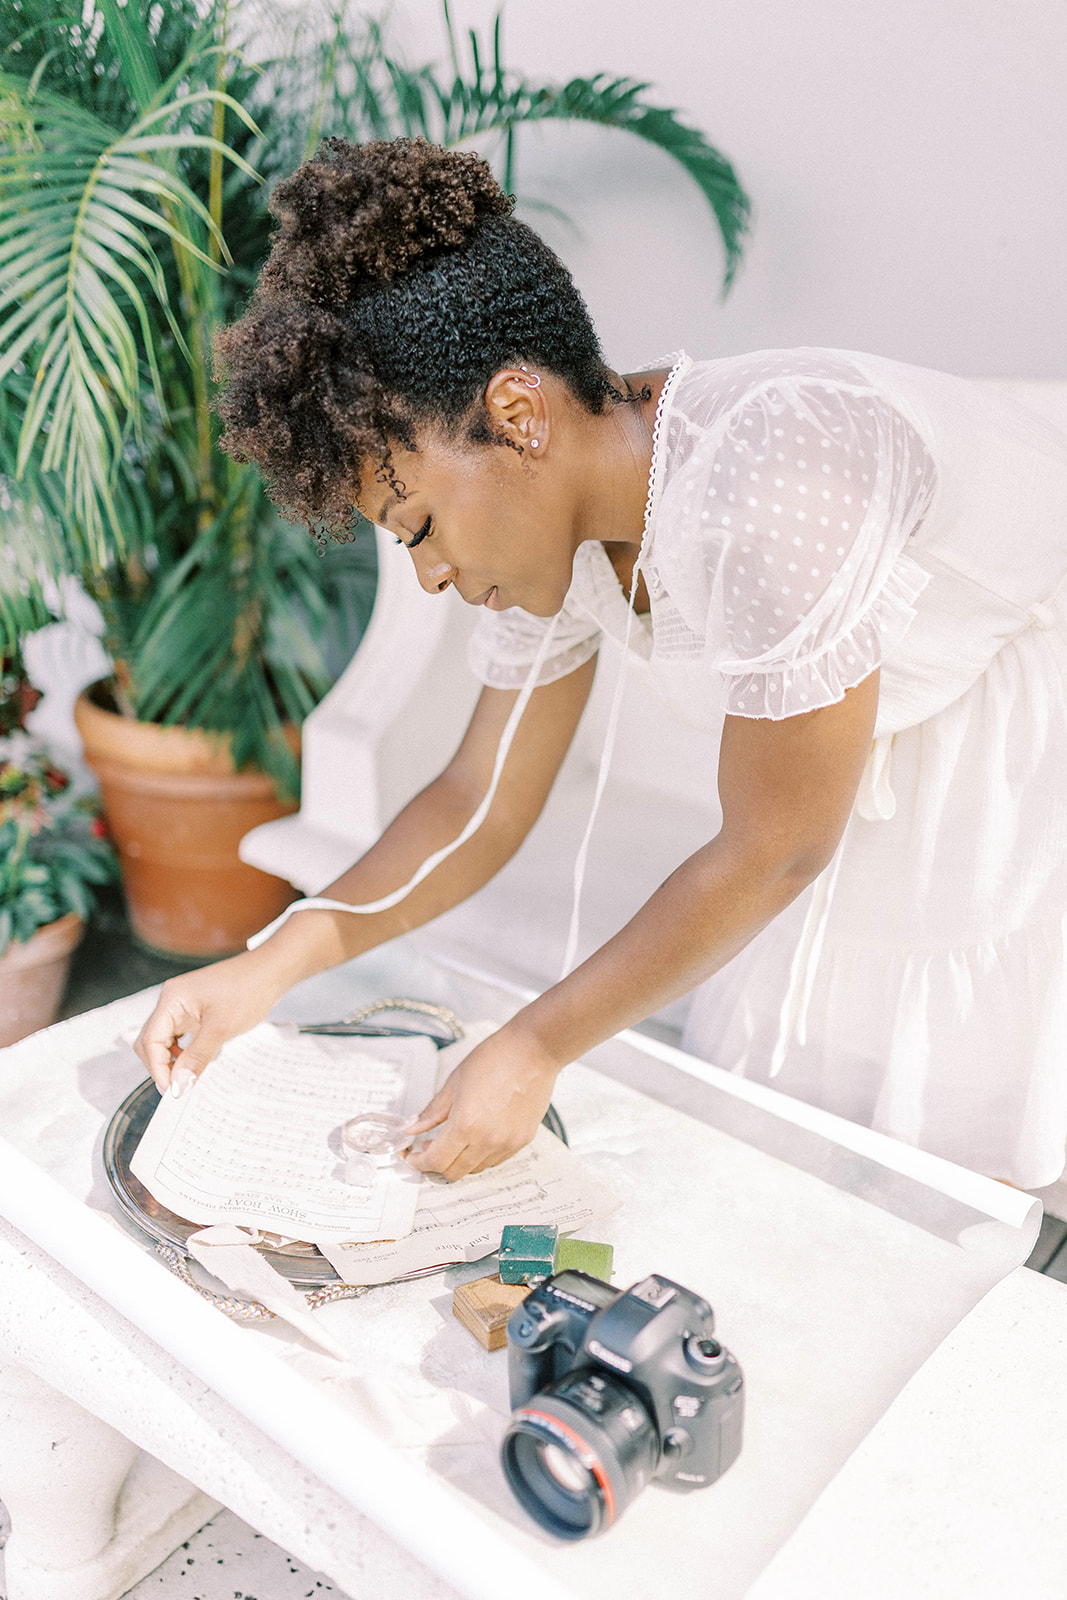
You can opt to use a 35 mm film camera or a medium format camera (120 film) but I would definitely recommend a 35 mm camera more. It is inexpensive and you have more shots! A roll of 35mm has 24-36 shots in it, and a roll of 120 film has 10-15 shots. I’ve especially enjoyed using my canon lens on my 35 mm camera. You can find a quality 35 mm film camera while you thrift through shops and online on websites, like eBay!
Some of my favorite images are from my 35 mm film camera. I also use my 35 mm when I’m really moving because it has more shots and it usually auto-focuses. My medium format camera is absolutely beautiful, but I don’t have as much time to change my roll as efficiently as I’m able to change the roll to my 35 mm camera. I find using a 35 mm camera, especially as a beginner hybrid photographer (a photographer who utilizes both digital and film), can take the pressure out of managing two cameras in a scene that calls for being quick on your feet.
With that said, here are some film stocks that I recommend you to use!
light meter
The light meter is used to determine your camera settings. You are setting the settings based on how you rate! It is reading the light! They go hand-in-hand. If you want to rate at 200, you would set your meter with that number and set your camera to the settings it gives you. You will have the recipe for the shots you want.
To meter, you would go up to your subject (shadiest spots- this could be the neck area or hair of their hair is black) and point the bulb at the spot you will be shooting. You could also meter at ground level where the subject is standing.
What meter should you use?
You can use a handheld meter, a phone app meter, or your in-camera meter. We recommend using a hand-held meter like the Sekonic L-358. In my opinion, using a handheld light meter can give you the most accurate reading.
Finding a film lab you’ll love
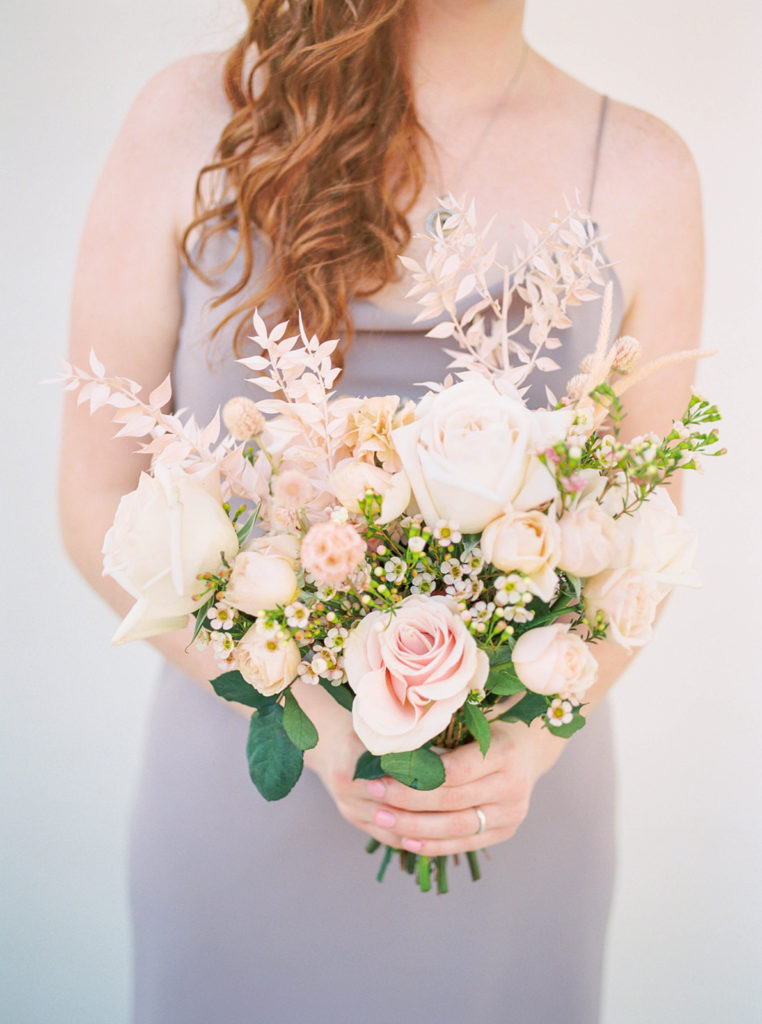
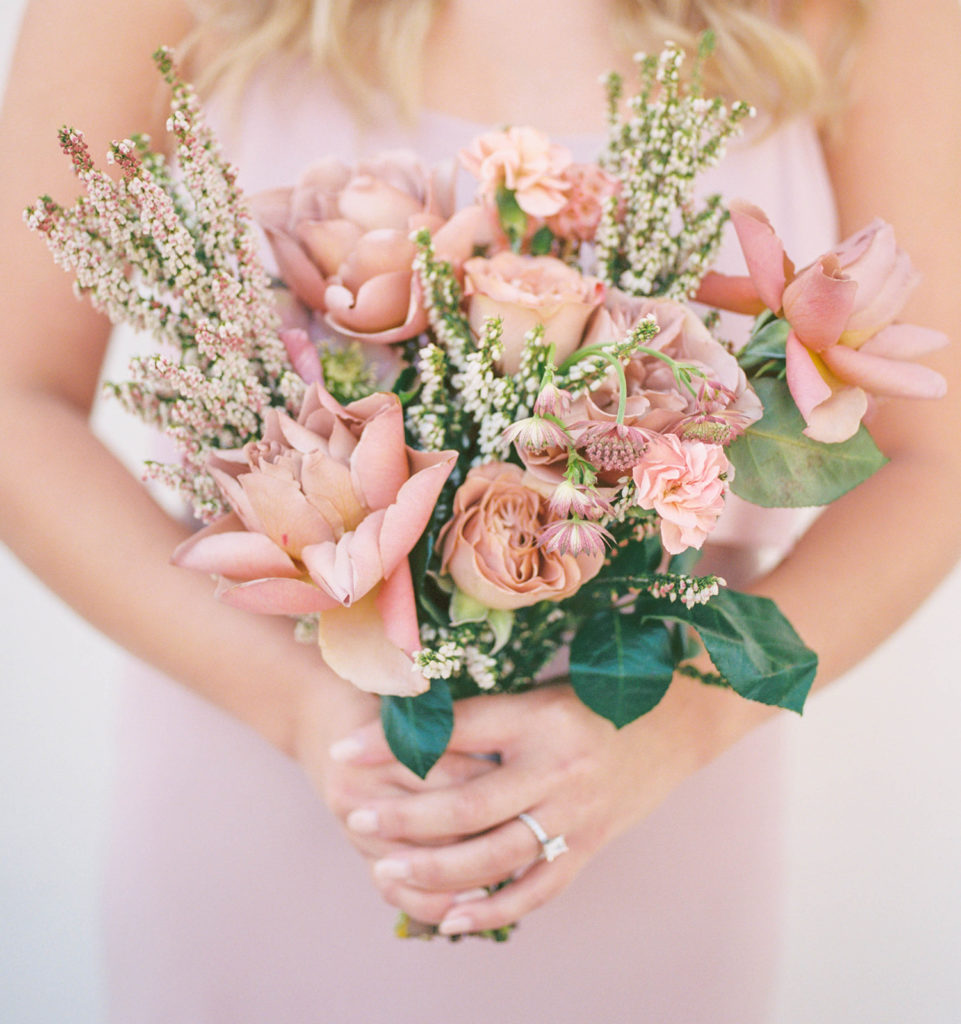
Speaking of the development process, it is time to send your film off to be fully developed! This is the most amazing part! You send your film to be developed and you wait for those film scans to hit your inbox! It’s always a pleasant email to look forward to!! Some photographers develop their own film but personally, I recommend having my film developed by a professional lab! Here is a list of film labs we love!
Remember when you choose your film lab, it could be trial and error and lots of communication. Some film labs will scan a few images and ask you how you like them before proceeding with developing the rest of your film. You can always communicate with them and make a note of how you would like your film to look! I usually will share with them my portfolio along with the look I’m going for with my scans!
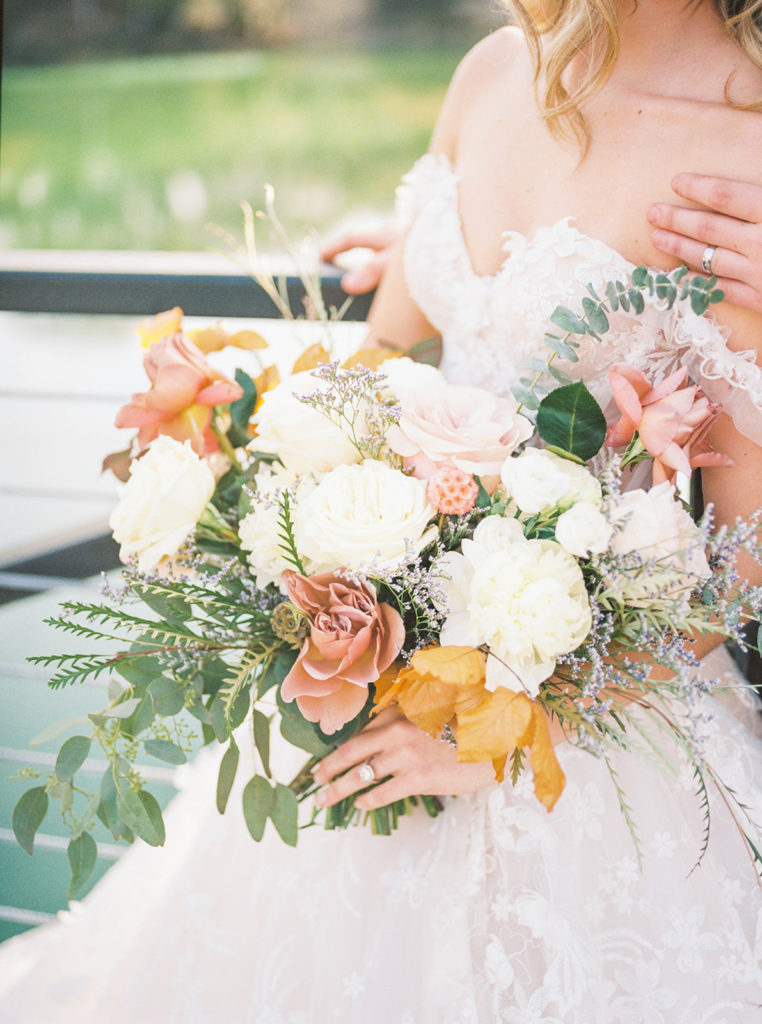
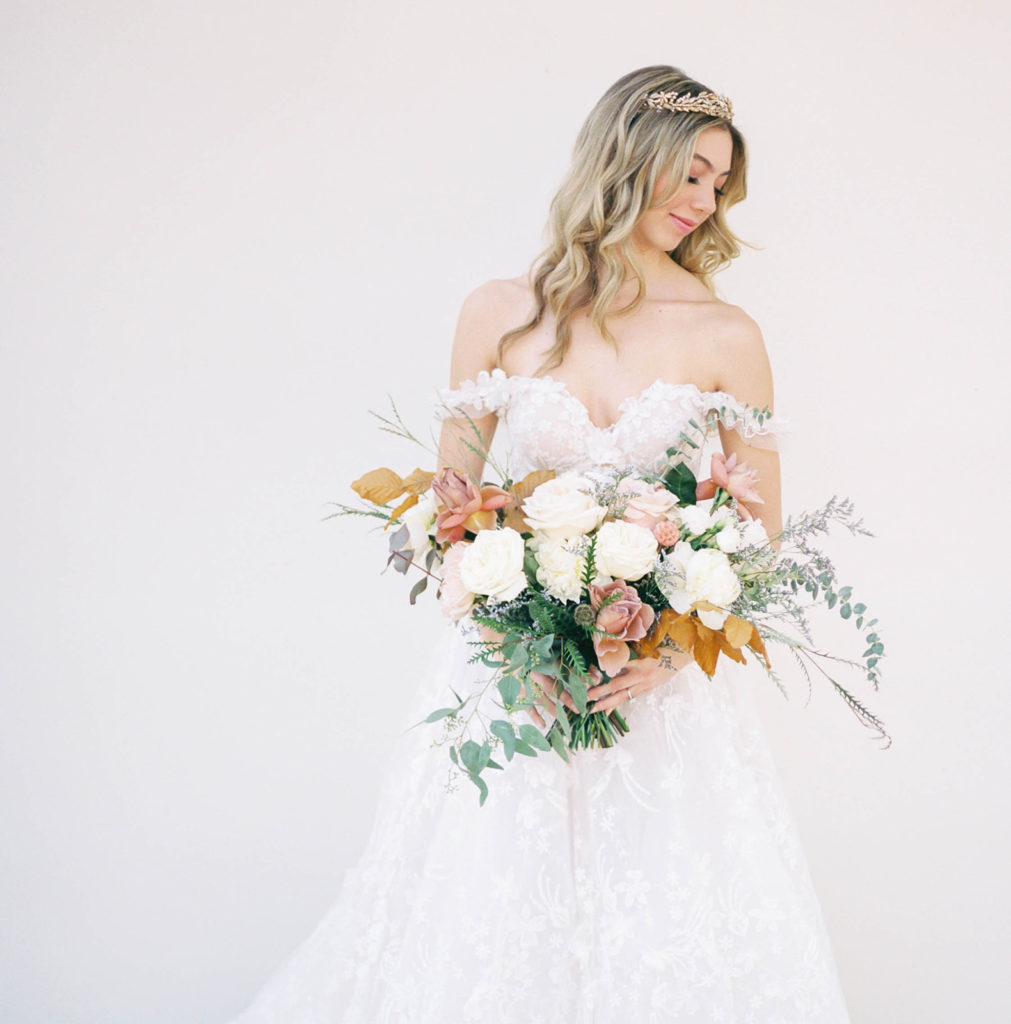
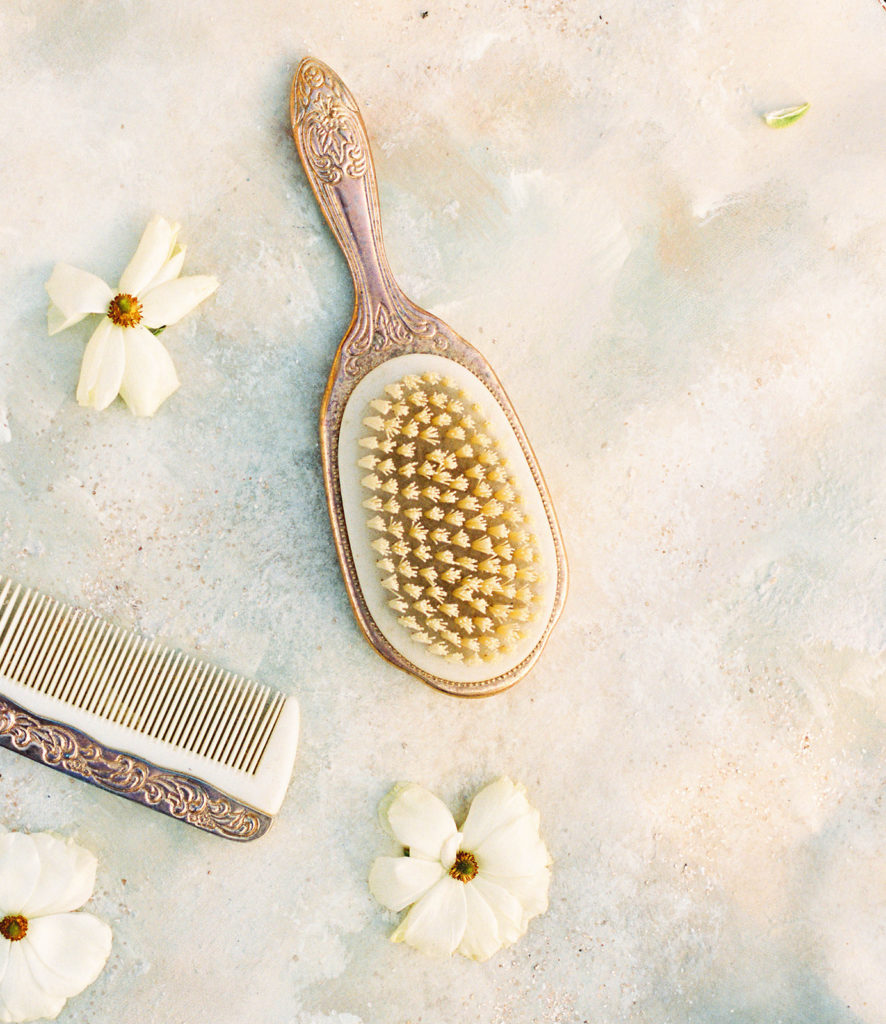
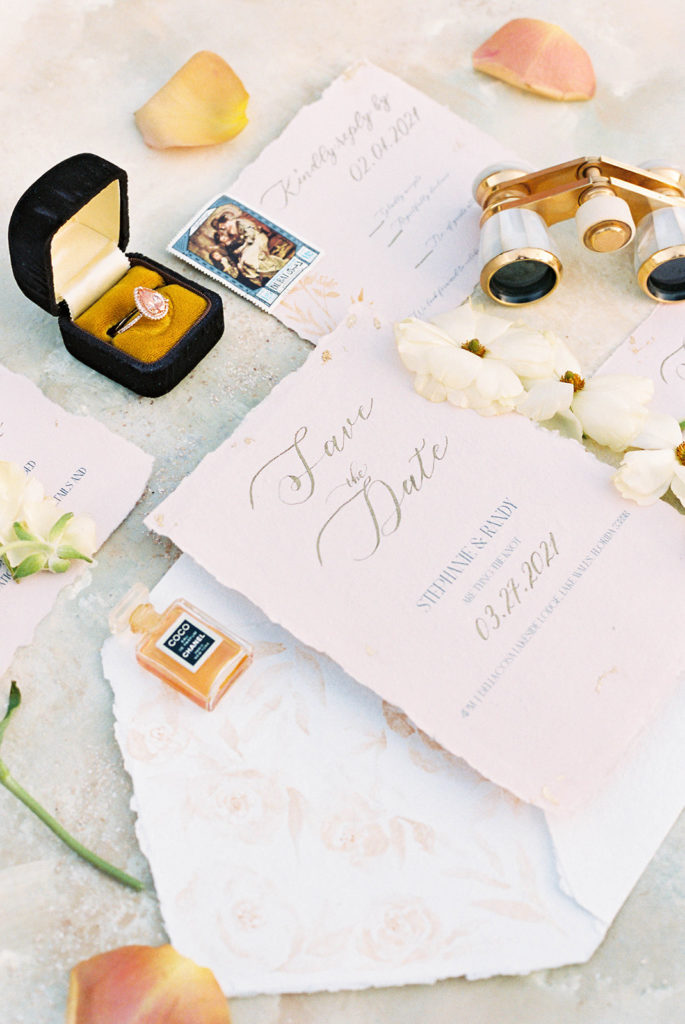
Film photography truly is a different kind of craft and it has helped me (in a lot of ways) become a better photographer! At first, it wasn’t easy. There were so many unfamiliar terms that challenged me plus the thought of wanting to be good right at the beginning did not help me at all! But eventually, I learned that being good at film photography takes time. It is a process. I learned that in order to be better, I have to take everything at my pace because that way, I can truly absorb my new learnings and become an expert at one thing at a time.
All I’m saying is, as a beginner, don’t put too much pressure on yourself! Be patient with the process! You’re going to get some “not so perfect” scans and that’s okay! You will eventually find your footing as you keep practicing! I recommend that you keep a log (you can keep notes on your phone or a notebook) of your settings to see which settings you love and you can start from there! Don’t be afraid to ask for feedback from labs you’re working with as well! Most labs are amazing at offering feedback that can help you further your education about shooting film.
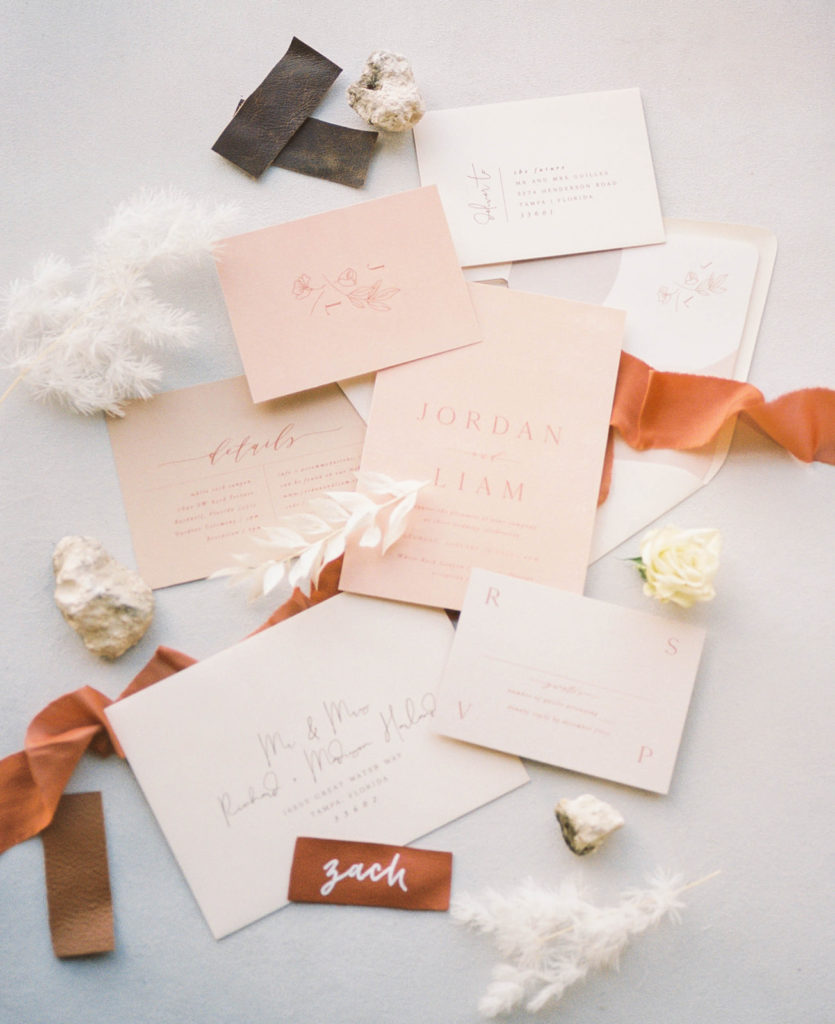
Speaking of education, we offer mentorship programs for wedding photographers who wish to refine their business branding! We’ll help you create an effective business plan, a full rebranding map, and more! This is a great opportunity for photographers who want to improve their business in every aspect and attract their ideal clients!
If you’re not ready to be a mentee yet, we’d like to invite you to join our community of creatives to grow your network of vendors and be in the know of our latest styled shoot updates! This community is also a great source of free learning materials that you can use to help further your business in the wedding industry! You can join our group HERE!
add a comment
+ COMMENTS